With Windows Server 2012 and Windows 8, Microsoft introduced Storage Spaces, their way of introducing a more manageable, scalable storage platform into Windows. For those of us who mourned the loss of Drive Extender and then the Windows Home Server products, this caught our attention, but it turned out to be much more. This is the first part of a three part series on Storage Spaces, where I will cover creating Storage Spaces on Windows Server 2012 R2, while introducing one of the primary new features. The second article will focus on the differences in the UI between Windows 8.1 and Windows Server 2012 R2, and the third will focus on using PowerShell for Storage Spaces across both operating systems.
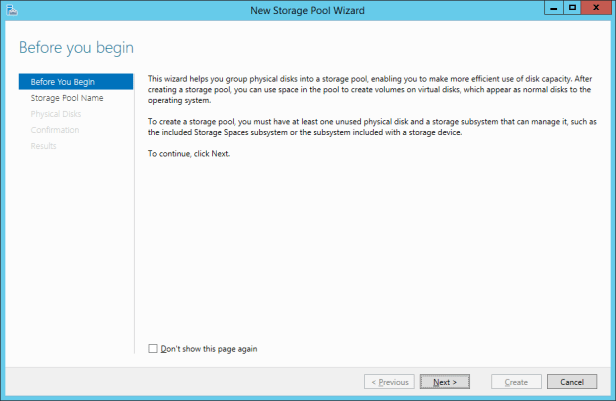
To start, you launch the New Storage Pool Wizard from within Server Manager, and the wizard will walk you through the required steps. Before proceeding, if you aren’t familiar with this interface a few of the things to point out – first of all it is part of Server Manager, which you have been spending more time in if you have been using Windows Server 2012 or later, or Windows 8 or later with the RSAT tools installed. At a glance you can see the Storage Pools, Virtual Disks and Physical Disks that are currently available.

The important things to note at this point is that you need at least one unused physical disk. You can start with one, and add more later, but today we have a fresh machine to work with so we have a bit more flexibility.
We need to give the Storage Pool a name, and select which group of disks will be made available to it. The reference to primordial is a reference to primordial ooze, so apparently if you add lightning and you can create life.

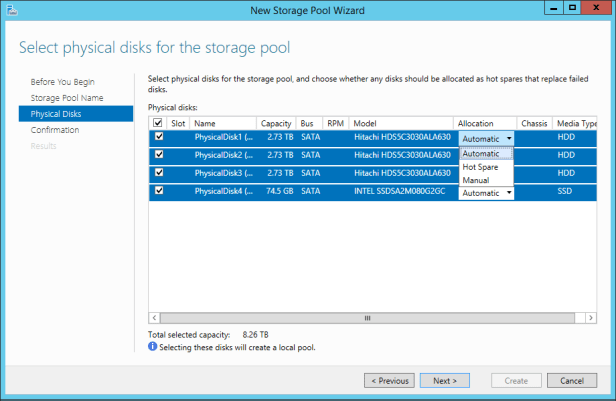
Now that we get to select the physical drives we are going to use, and you can see here that we can have them set as automatic, or we can assign them as hot spares or configure them manually. You will also notice that under the last column, Media Type, we can see that one of the drives is an SSD. If you noticed the naming I used above for the new Storage Pool, you have probably already figured out that I am going to create a space that benefits from the speed of the SSD.
Once all of these are selected we see details for review, and then we can confirm.

Once confirmed, we can follow the status, and can see that everything has been completed successfully. Now that the pool has been created we need to create virtual disks from within the pool.

Now that the Storage Pool has been created, we can see it listed in the Storage Pools section below. Now we need to creae a virtual disk, so within Virtual Disks you can start the New Virtual Disk Wizard.

The text here informs us of where some of the power of Storage Spaces comes from, and that is that depending on how you create and configure your virtual disks can increase reliability and performance of the virtual disk, which can be conflicting goals at time.

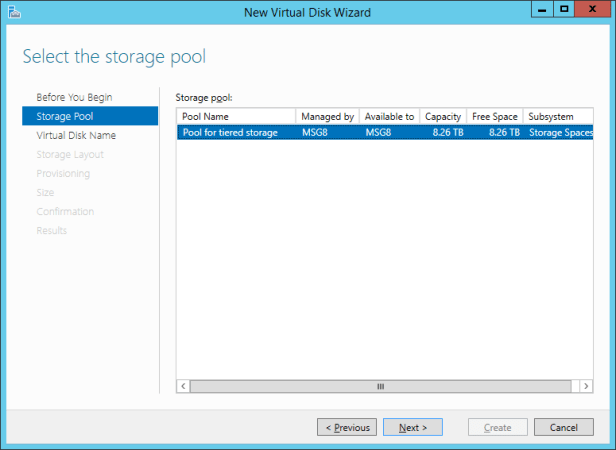
Now we can select the Storage Pool that we just created.
We need to give the virtual disk a name, and because an SSD was detected in the pool I have the option of creating tiered storage, which is exactly what I want to do.

As the data on this machine is backed up elsewhere I will opt for a Simple layout rather than mirrored.

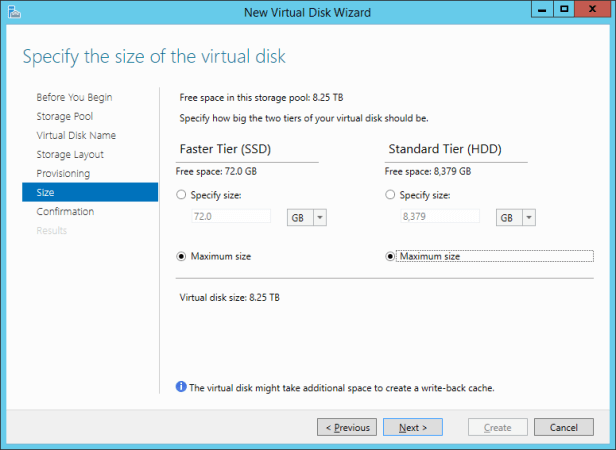
Now I get to select how much of the space of the SSD and HDDs I want to assign to the virtual disk, and I will choose all of it. If we chose less, it means I could have set up an additional virtual disk to work with.
Because we have selected tiered storage we can’t do thin provisioning, so Fixed it is…

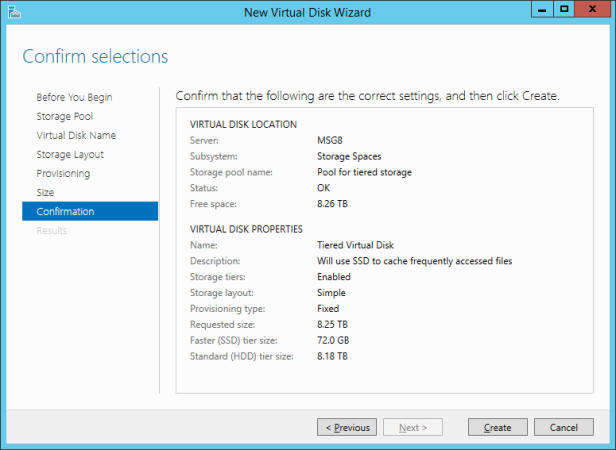
The confirmation page gives us a summary to ensure that everything matches our expectations, and then we can continue.
After we click create we see the progress bars continue successfully.

Now that we have the virtual disk created, we need to create volumes or partitions, which we do with the New Volume Wizard.
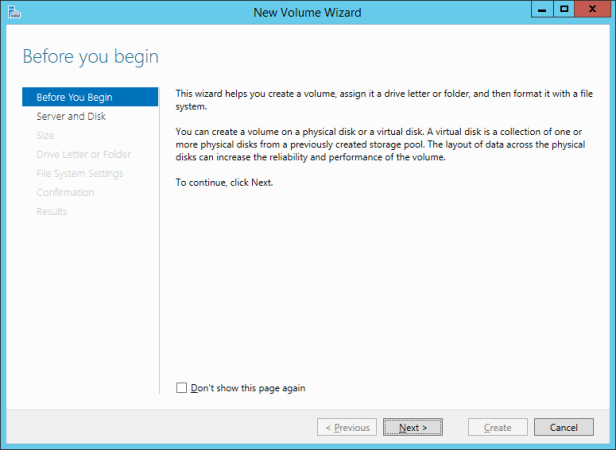
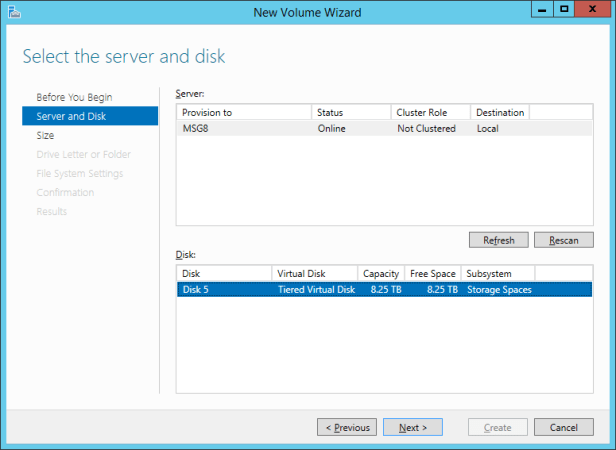
Here we get to select the server and the virtual disk that we will be working from.
I’ll just select the maximum and continue, because I can’t change it due to using storage tiers.
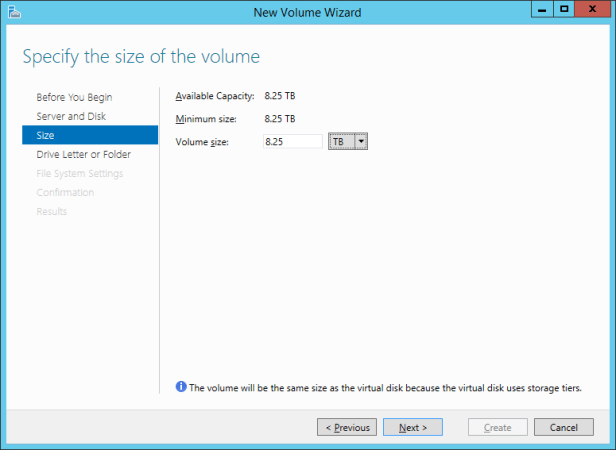
And we hit a problem. There is currently a rounding error bug when you use TB as a measure, so just choose GB or MB and type the number that they present, and you are good to go.

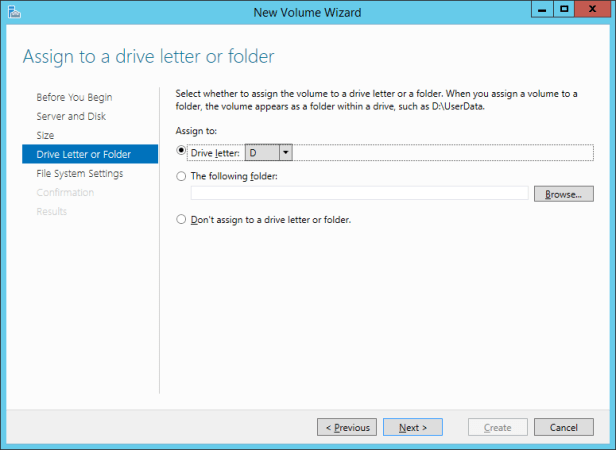
Now we need to decide how we want to expose the volume to the operating system, or we can choose not to.
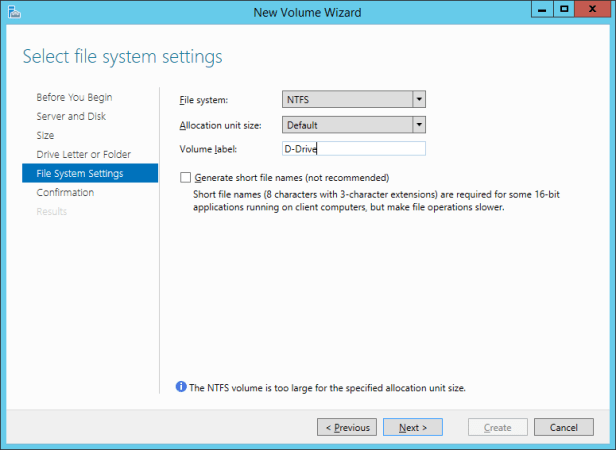
I can choose the file system details and the volume label here, but you’ll notice that there isn’t a quick format option. That’s done by default, you don’t really want to be performing a full format on multiple terabytes of drives if you can help it.
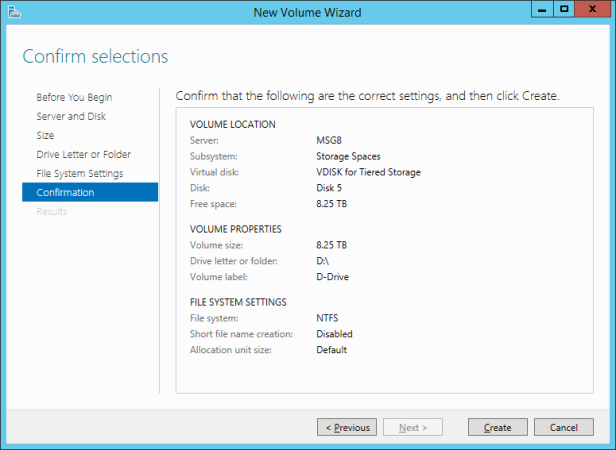
And once that’s done, I can verify my selections.
That’s all we need for now, within a matter of seconds there is a d: volume created and ready for use

Once we are back in Server Manager we can see that not only do have a Storage Space, we also have a Virtual Disk, and can see that it is assigned the letter D: and is tiered.

If we go to Disks we can see the virtual disk, as well as the boot disk, which is not part of the Storage Pool.
 That’s a quick look at the minimum steps required to get a tiered storage space set up under Windows Server 2012. The benefit of the tiered storage option is that the SSD will be used to cache the most frequently used files. For general purpose file server duties, the 80GB drive I’ve got in this setup is probably going to help, but for the storage of live VMs for Hyper-V it’s not going to be big enough to make much of an impact.
The next post in this series of three will cover the native Storage Spaces interface in Windows 8.1, so stay tuned.
