In the first part of this series I covered some Storage Spaces basics, but focused on the UI in Windows Server 2012 R2 as a way of leading in to this post which instead focuses on the UI in Windows 8.1. There are some big differences between the UIs on the client versus the server, but there are also quite a few feature differences. The ability to use tiered storage, ie SSDs as a high speed front end to traditional storage and clustering spaces are two of the big ones. But back to the differences in the UI – just how different are they? Well, take a look below and compare it to the last post and you’ll see that not only are the UIs different, they expose very different levels of functionality.
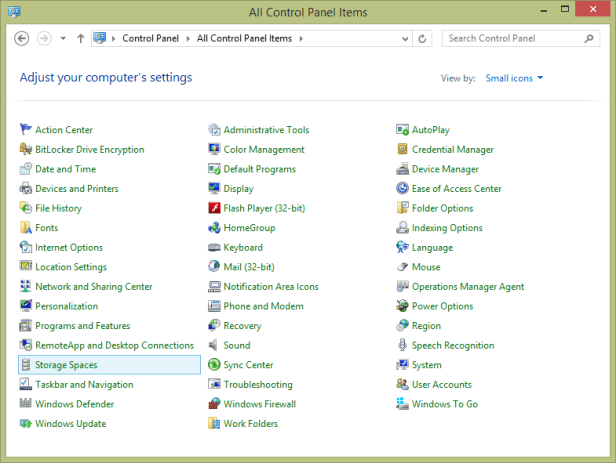
First of all, Storage Spaces in configured through Control Panel, and not Server Manager. Even though you can get Server Manager installed on Windows 8.1 machines by installing the Remote Server Administration Tools, but for now we need to stick with what Control Panel has to offer.
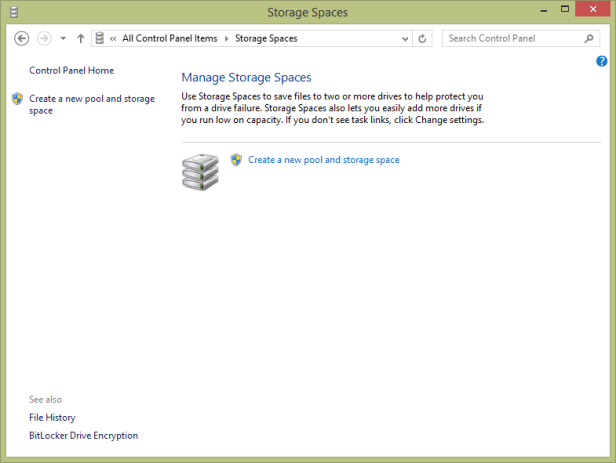
We can create a new Storage Pool and Storage Space from within this UI, which is very different to what we have seen on the server.
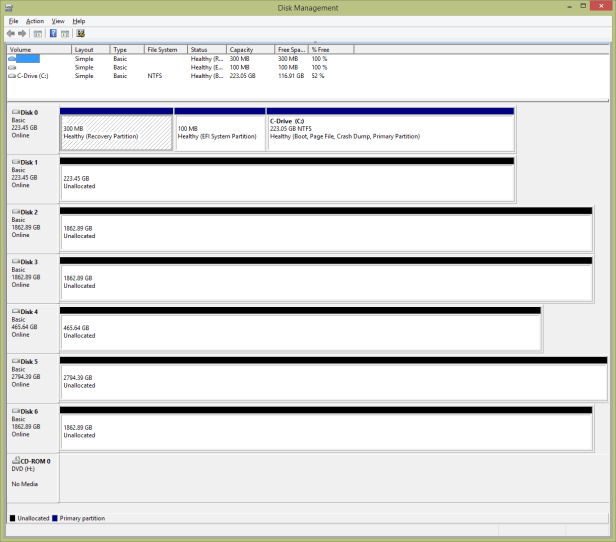
Before we go any further, let’s take a look at the drives via Disk Management. You’ll notice that I’ve removed the partitions on the drives I want to add into the Storage Pool.
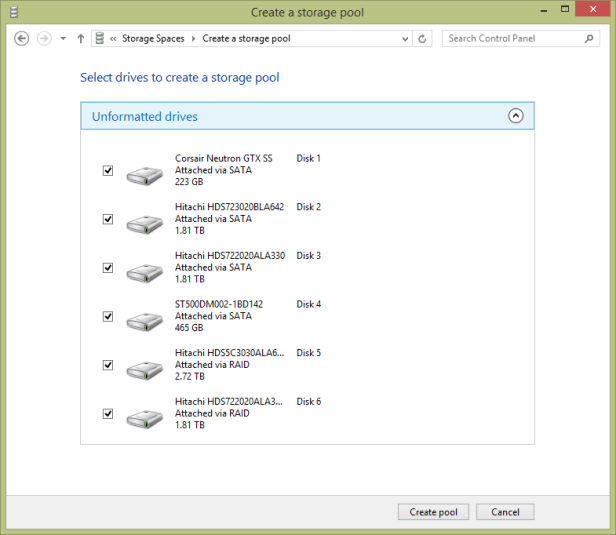
Back to the Create A Storage Pool Wizard. Here I get the option to select the drives. You’ll notice that unlike in Windows Server 2012 R2 it doesn’t differentiate between SSDs and HDDs, and adding an SSD into a pool isn’t really going to bring benefits, but I’ll do it anyway.
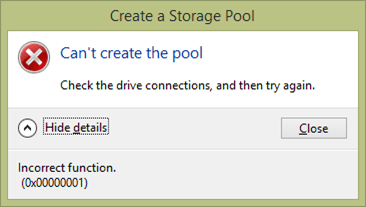
I run into a problem here, but the process continues despite the error. It’s not well identified, but the problem is that drives 5 and 6 are attached to a RAID controller, which means that we can’t include them in the Storage Pool.
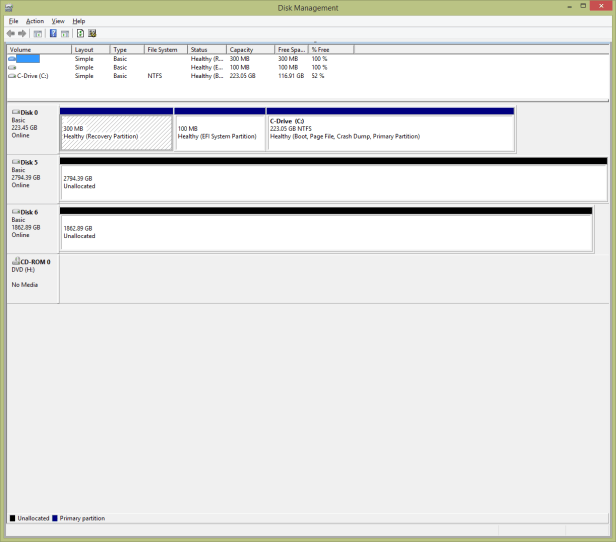
Here you can see that even though we have created a Storage Pool, it doesn’t show up in Disk Management. All we can see are the two drives on the RAID controller, as well as the boot drive.
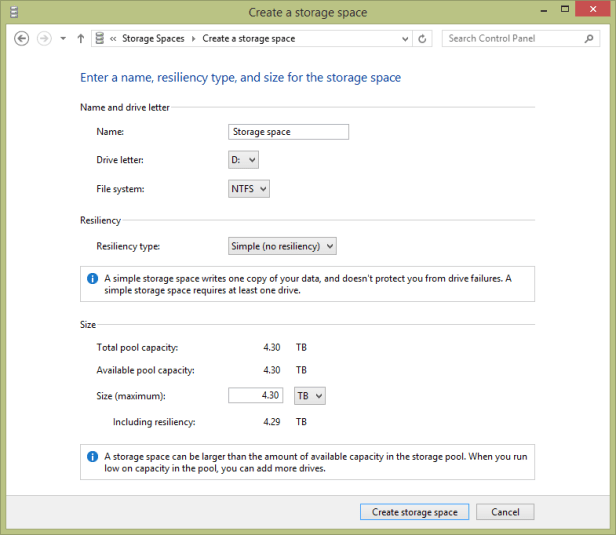
Now that we have the pool created, we can create a Storage Space. Just like with Windows Server, we can create a simple space with no redundancy, a two way mirror (requires three drives), a three way mirror (requires five drives), as well as parity spaces.
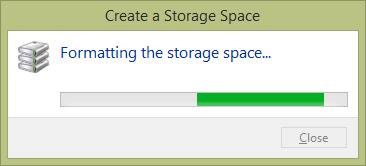
Creating the Storage Space involves formatting it, which is a quick process.
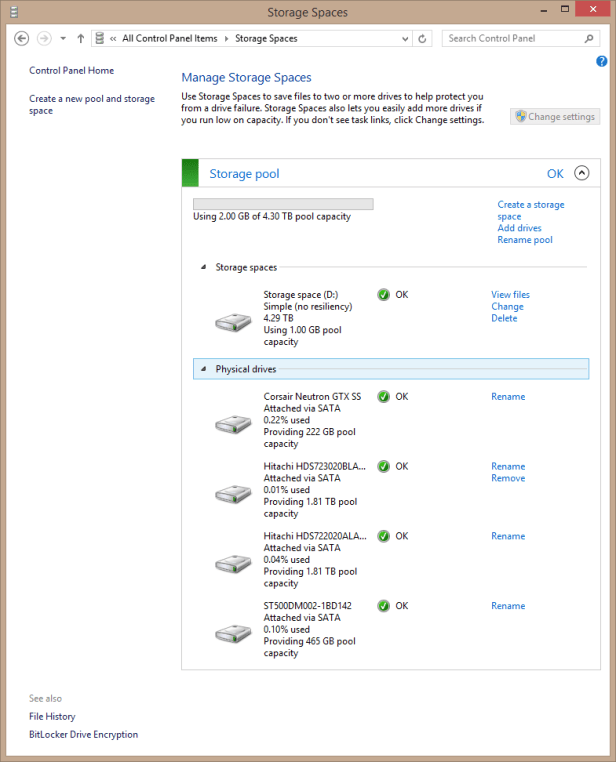
Here’s the final result. Note that the drives on the RAID controller aren’t included. Even though I’ve got various sized drives in the mix, I would usually recommend sticking to the same sized drives unless you have made yourself familiar with some of the limitations of mixing smaller drives with larger drives when disk space is at a premium.
The client UI is minimal compared to the server, and there a few things we can’t determine from the UI. What that means is that we need to delve into PowerShell, but that’s part 3 of this series.
